DIY: Hot Air Balloon Decoration & Wall Banner!
Thursday, October 08, 2015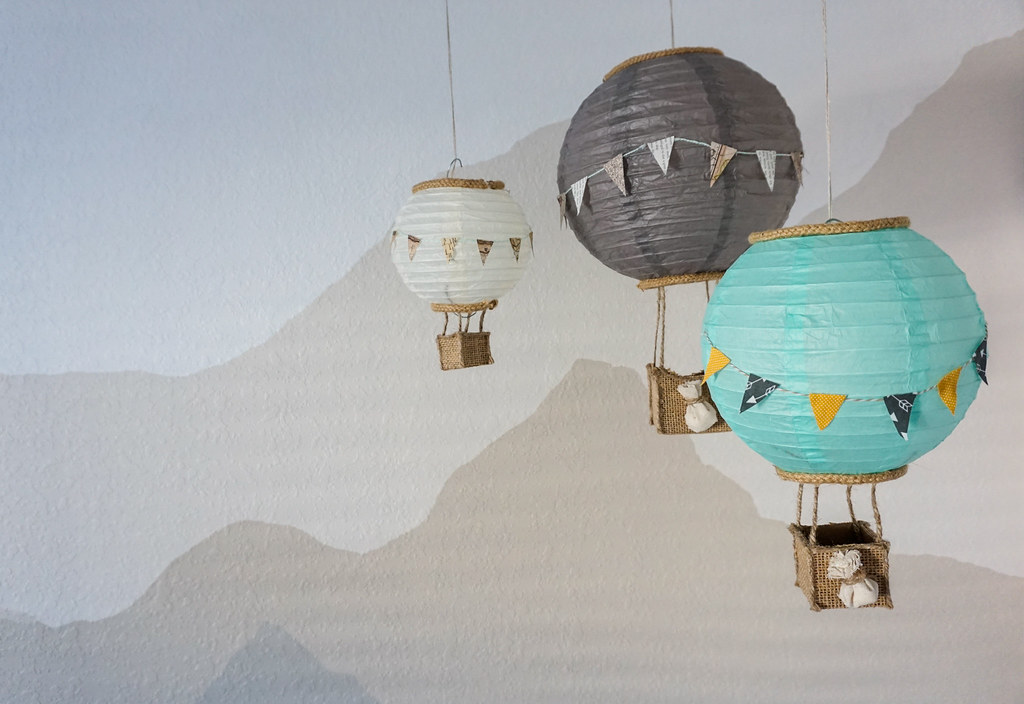
Two decorations were done this week and they were John's projects! When we first started planning for the nursery we agreed that he'd be in charged of the hot air balloons, and he didn't let me down! Of course we collaborated together and he asked for my input, but in the end he got the last say. He originally asked me if we can do fabric and if I can cut up the pieces and pattern, sew it up and stuff it with batting, but I said "lets find something else" because I was already doing a lot and adding that to my list of things to do, we may never get it done! So thankfully, he found a quicker and easier route... paper lanterns! After he told me his plans, I went ahead and ordered some because I could not find the sizes and colors I wanted without it being sold as a pack. Most of the other materials we used I already had, so this was an easy peasy project for him!
I didn't really catch John when he started on it, so I'll try my best to do a step by step tutorial. John's work schedule has been too hectic for me to bother him with posting a blog! He also didn't get the tutorial from Pinterest so there isn't anything for me to link to. But bare with me.
Materials Used:
- Paper Lanterns ( 10", 8" & 6") bought at www.justartifacts.net - Colors: Grey, offwhite, robins egg blue - $9 (with shipping) - I bought 4, because 1 is being used for our baby shower.
- Jute Cord (1 yard) - $2 (with discount) from Hancock Fabrics - used to wrap the top and bottom parts of the paper lanterns
- Bakers twine - for the pennants
- Kraft cardstock used to make the boxes
- Burlap
- Hot glue gun
- Twine cord - to attach the box and lantern
- Cricut Machine - to cut out the triangles in different sizes (you can easily cut them yourselves, this just saved us more time)
- Canvas fabric (left over from another project) - for the baggies
Total Cost: ~$12
Bare with me with the instructions cuz I didn't really work on this:
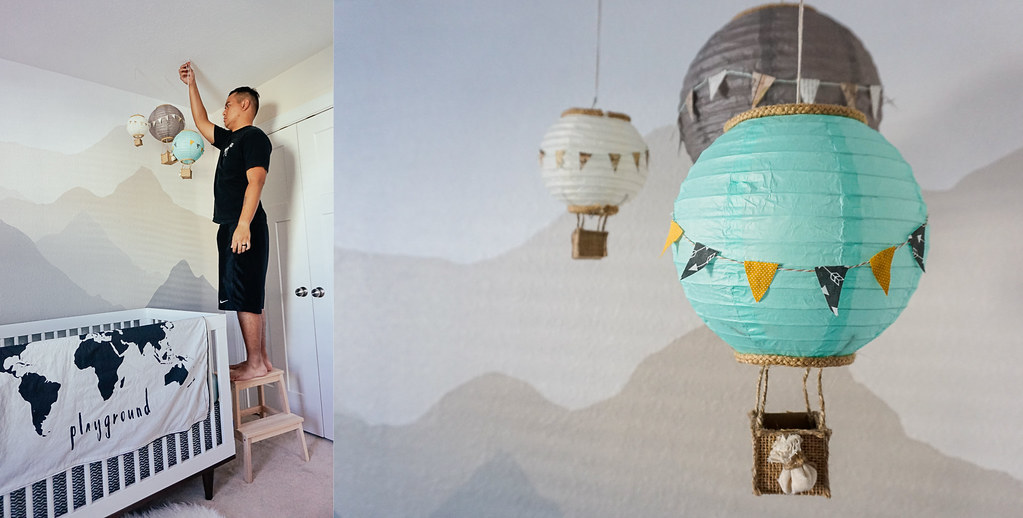
The firs thing John worked on was the box, he cut up four squares (measurements depends on the size of your lantern), you would want these nicely proportioned to your lantern. He wrapped them in burlap before using the hot glue gun to stick them together. After all three boxes were made, he cut up twine cord to attach the boxes to the lanterns and put them aside so that he can glue the jute cord to the top and bottom of the lanterns. He then attached the boxes and the lanterns together using the twine cord he cut up. My only part in this was making the pennants (which I used the cricut for) using left over vintage map scrapbook paper and a page from an old book. I wanted the blue one to be different so I used left over fabric for that one. I attached it to bakers twine and John put it on the lanterns. I also made the baggies that went on the gray and blue hot-air balloon using left over canvas fabric, and tada, you've got yourself a homemade hot-air balloon decoration!
Sorry if my instructions for these isn't super clear, but as I mentioned it wasn't my project and I wasn't paying attention to John too much while he worked on it! Hot-air balloon decors are so expensive! Some of them range from $50-$250 on Etsy! There was no way we were gonna spend that much for one item! We also didn't want to do a mobile because we didnt want anything on the crib.
_____________________________________________________
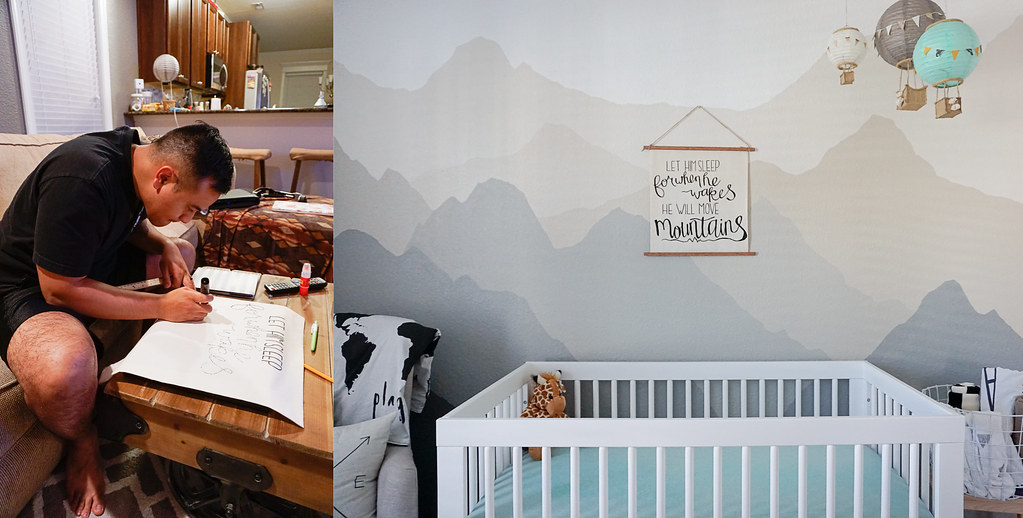
- 1/2 yard of Fabric (muslin) - $1.00 at Joanns fabric
- Wood - from Michaels (I forgot what size it is)
- Stain
- Twine Cord
Total Cost: ~$1.50


0 comments