DIY: Our Adventure Book! :]
Tuesday, October 06, 2015
I have been wanting one of these things for a while now! I first saw them on Etsy and was totally tempted to order every single time I saw it! The one I made is a scrapbook type of thing rather than an actual photo albums like they sell on Etsy. They also have these for people who have an UP themed wedding and use it as a guestbook. They run from $40-$75, sometimes more depending on how many pages and the extra knickknacks! I thought it'd be more fun if I made it myself like Ellie did in the movie!!

I bought the materials (that I didn't already have) for this project a little over two months ago but just never got around to finishing it because I couldn't find the alphabet stickers I wanted that didn't cost more than $5, but totally kept forgetting that my Mom-in-law gave me a Cricut Expression machine earlier this year! So I finally put it to use and made my own letters! It was pretty simple to make! I found a tutorial on Pinterest that I sort of went off of but changed a few things.
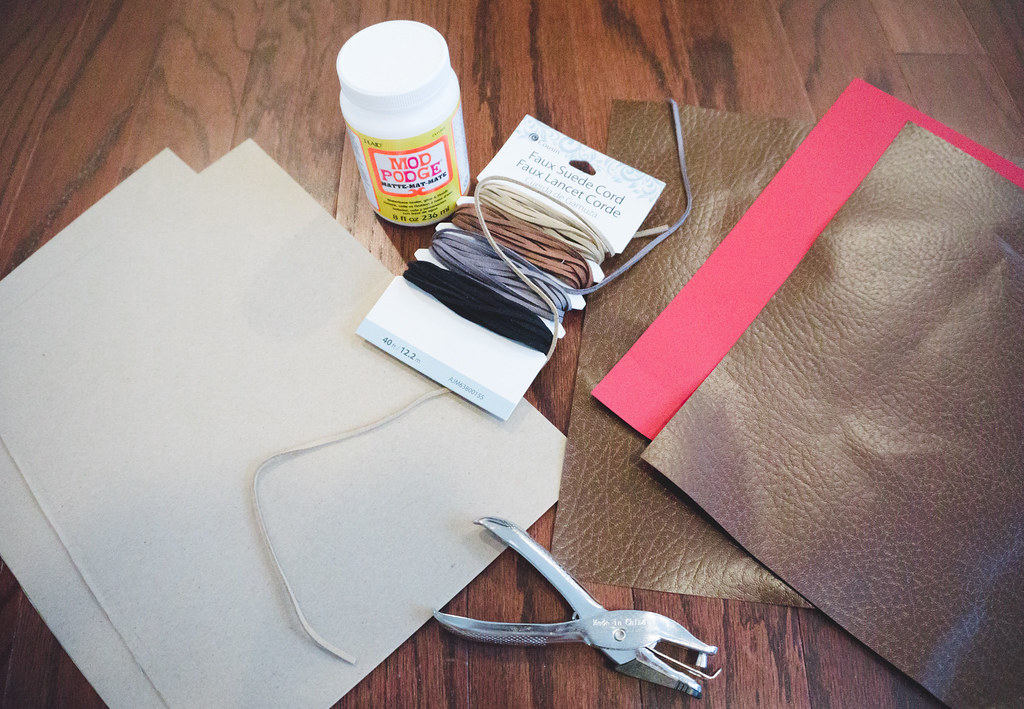
Materials used:
(2) 12 x 12 Chip board from Michaels' scrap-booking isle at $1.99 each (was on sale for 50% off) or you can use a cereal box! I went with the chip board because it was harder and more durable.
(2) 12 x 12 Brown Leather scrapbook paper (for front and back cover) $0.99 each
(1) 12 x 12 Red scrapbook paper (for the binding part of the book) $0.59
(2) 12 x 12 Vintage Map scrapbook paper (you can use whatever you want to line the inside of the front and back cover, I chose the map, in the movie I think she used purple) $0.59 each
Leather or Suede Cord (already had from a previous project)
Whole Puncher (already had)
Mod Podge (already had)
Card Stock to use as the pages inside of the book (left overs from the baby shower invites)
Cricut Machine to cut out the letters
Gold Marker to draw out the square and circle
Globe print out and masking tape for decoration
Total Cost: ~$6.00 || Tutorial found here.

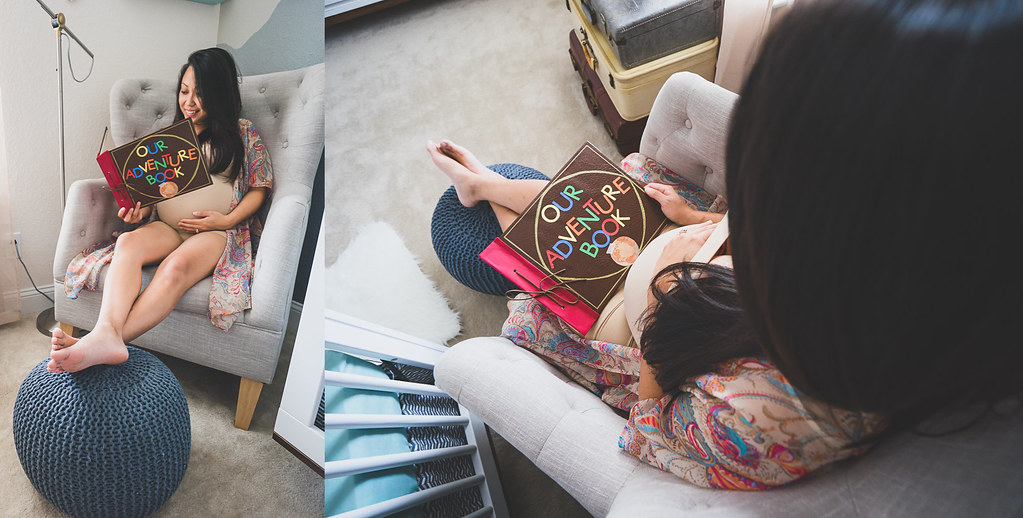
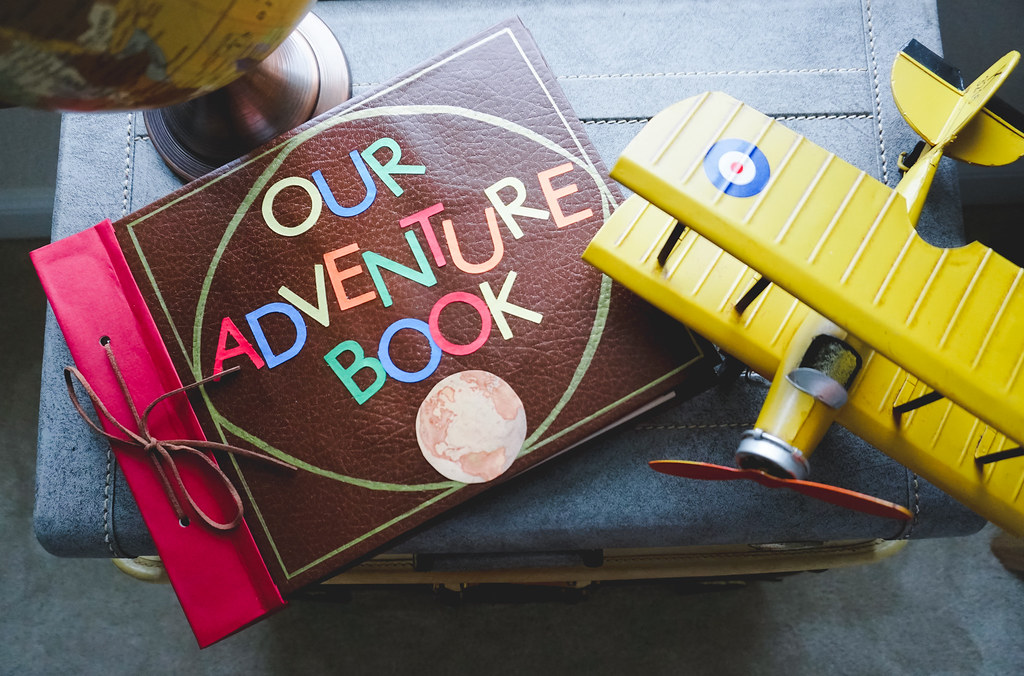
This is the finished product! I finished this diy about two weeks ago but never got a chance to blog about it because I keep forgetting to until John was like "lets do your 28 weeks pictures in the nursery" and I saw it standing on the dresser! As you can see from the picture above, there was no masking tape yet. I just recently added the masking tape because I finally got a piece from work! Lol! I don't know if you can see it in the first picture where I'm holding the book. It just makes it look more legit! Haha! This was a cute little addition to baby H's nursery and I'm glad I finally got around to finishing it! I'll be adding polaroid pictures inside soon enough! :) I was telling John that for next year's halloween we should dress up as Carl and Ellie and baby H can be Russell and Pax can be Dug! I'm gonna make it happen! Lol
Xx,
Jenn

I bought the materials (that I didn't already have) for this project a little over two months ago but just never got around to finishing it because I couldn't find the alphabet stickers I wanted that didn't cost more than $5, but totally kept forgetting that my Mom-in-law gave me a Cricut Expression machine earlier this year! So I finally put it to use and made my own letters! It was pretty simple to make! I found a tutorial on Pinterest that I sort of went off of but changed a few things.
Materials used:
(2) 12 x 12 Chip board from Michaels' scrap-booking isle at $1.99 each (was on sale for 50% off) or you can use a cereal box! I went with the chip board because it was harder and more durable.
(2) 12 x 12 Brown Leather scrapbook paper (for front and back cover) $0.99 each
(1) 12 x 12 Red scrapbook paper (for the binding part of the book) $0.59
(2) 12 x 12 Vintage Map scrapbook paper (you can use whatever you want to line the inside of the front and back cover, I chose the map, in the movie I think she used purple) $0.59 each
Leather or Suede Cord (already had from a previous project)
Whole Puncher (already had)
Mod Podge (already had)
Card Stock to use as the pages inside of the book (left overs from the baby shower invites)
Cricut Machine to cut out the letters
Gold Marker to draw out the square and circle
Globe print out and masking tape for decoration
Total Cost: ~$6.00 || Tutorial found here.

This is the finished product! I finished this diy about two weeks ago but never got a chance to blog about it because I keep forgetting to until John was like "lets do your 28 weeks pictures in the nursery" and I saw it standing on the dresser! As you can see from the picture above, there was no masking tape yet. I just recently added the masking tape because I finally got a piece from work! Lol! I don't know if you can see it in the first picture where I'm holding the book. It just makes it look more legit! Haha! This was a cute little addition to baby H's nursery and I'm glad I finally got around to finishing it! I'll be adding polaroid pictures inside soon enough! :) I was telling John that for next year's halloween we should dress up as Carl and Ellie and baby H can be Russell and Pax can be Dug! I'm gonna make it happen! Lol
Xx,
Jenn


0 comments