
Sew Fun: Multi-purpose Nursing Covers!
Monday, October 12, 2015
Here goes another sew fun post! I haven't done one in a while! I started this little project over a month ago, but didn't finish the rest 'til recently because I wanted to wait til our carseat arrived so I can see how the fit is on our carseat. This tutorial is for a multi-purpose nursing good. I first saw these on instagram from three different shops. I even added one on of them on our baby registry! But as usual, I wanted to see if I can make it myself, I mean it was just fabric. After looking at many pictures of them, I went to the fabric store and picked out fabric! As soon as I walked in to the store, I saw the black & white stripes, the best part it was in the clearance section! It was 70% off! Steal! It was also the end of the bolt so there was additional discount. I got 60 inches if that for $4! I was so excited. I found two other ones that were also on sale that day, combined with a coupon! I eventually ended up with 6 fabrics (two different trips) totaling to around $15. I got a yard of each fabric. Definitely wait til they have good sales plus a discount for the 'entire' purchase. The type of fabric I used were the stretchy knit ones, because you want them to be able to stretch over the carseat, and it was just lighter and breathable.
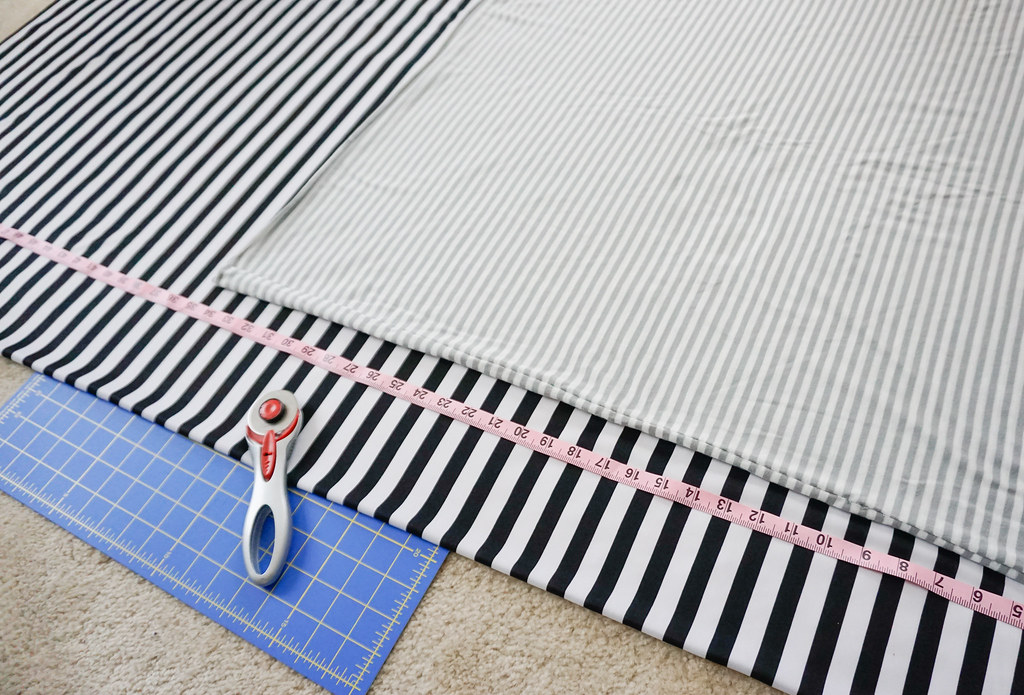
Measure: As I mentioned I've done a few of them before, so I just took the measurements from the one that was already done cuz I now know that it fits the carseat as well. Measurements are 30 x 34, but you can cut them to your liking. I'm probably going to adjust a couple of them so that its a little smaller than this, since they are stretchy anyway. I'm probably going to do a few that are 28 x 30, you just want it big enough so that it covers both the front and back of your when you're breastfeeding.

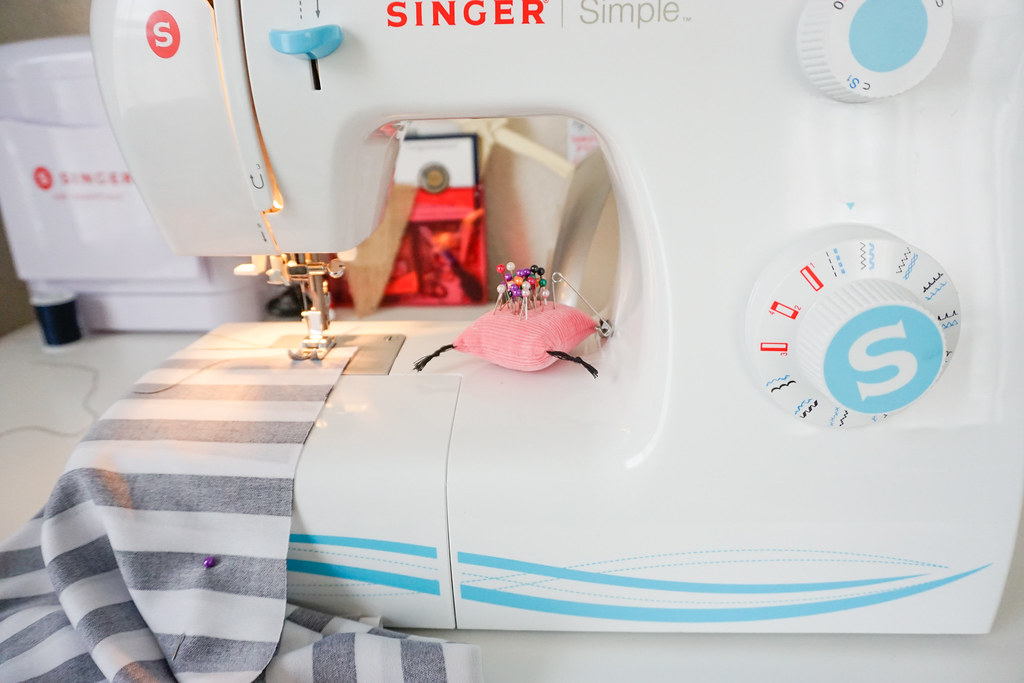
Pin & Sew: After you've cut the fabric to the size of your liking, turn it inside out so that the right sides are facing each other. Fold it in half, pin the edges, and then sew. Depending if you're fabrics stretch in all directions, then thats would be all of you have to do. Now its a little more work if your fabric only stretches in one direction, so make sure you buy fabric that stretches in all directions! I had to do an extra step for this black and white striped ones, and instead of the stripes going horizontal, it went vertical because that was the direction it stretched. I hope that made sense! Ha!
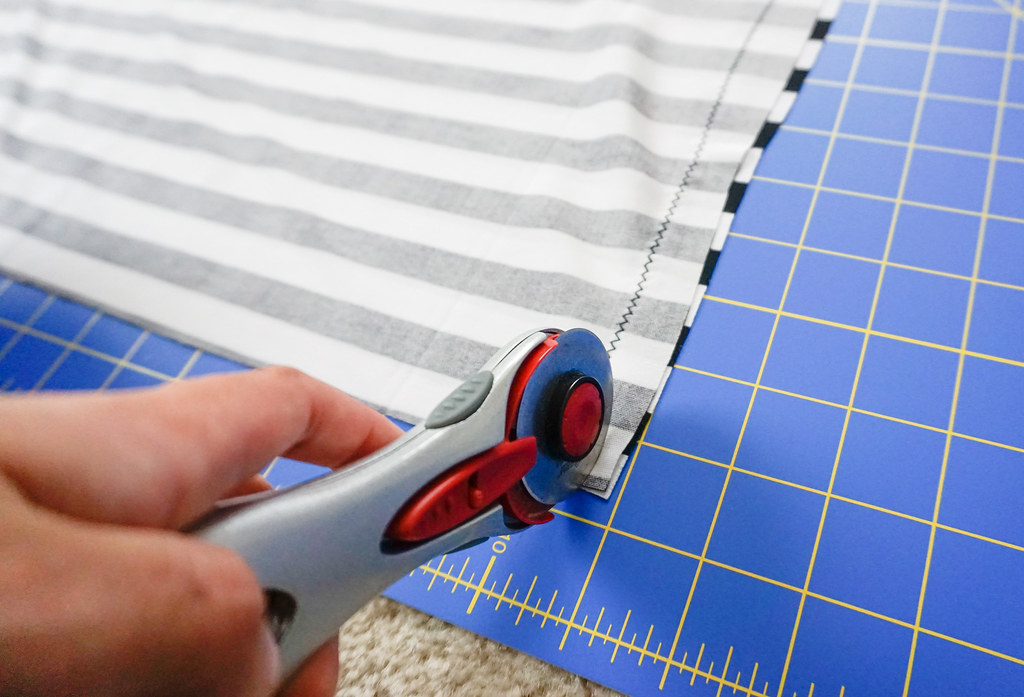
Trim: Once you are done, just trim of the excess and then turn right side up and you're done! It was that easy! Im sure there are other ways to do it, but this is how I figured it out and it worked for me! As long as it helps covers my goodies when Im breast feeding, and also serve as a carseat cover and shopping cart/high chair cover, then I am all good. You can also wear it as an infinity scarf!
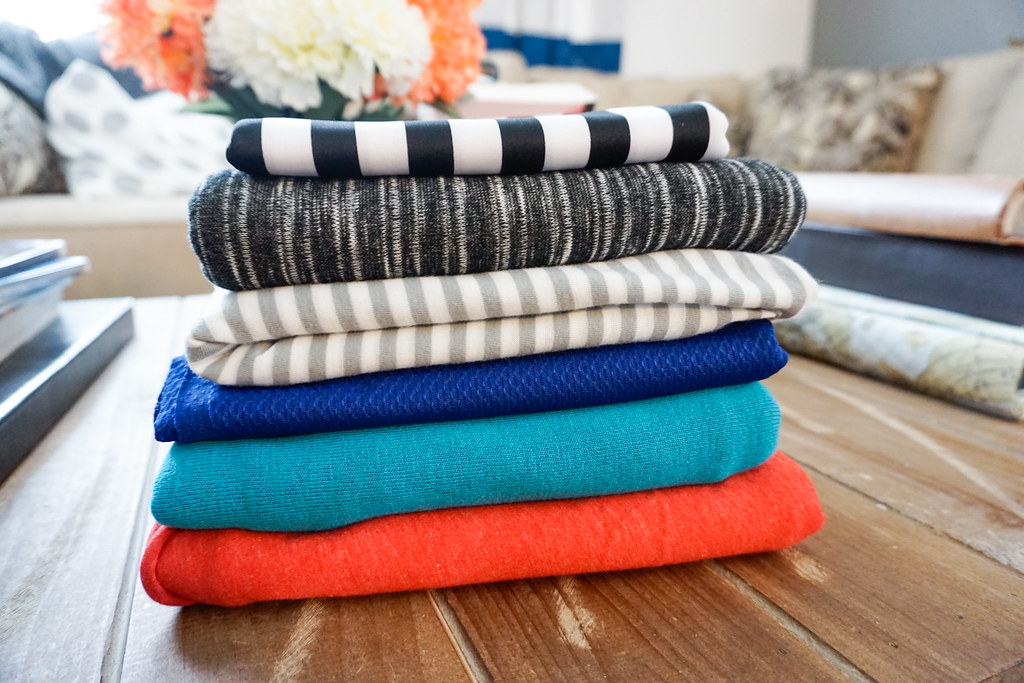
Tada!! I love that I was able to make 6 different ones for $15! I was lucky enough to find the fabrics I wanted from the clearance section or they were on sale the days I went and I was also able to use a discount on top of them! I was also tempted to get a floral one, but since Im having a boy, I wanted to keep it more boy friendly! Maybe I'll add more patterns to this along the way, but these will work for now. Its more than enough actually!
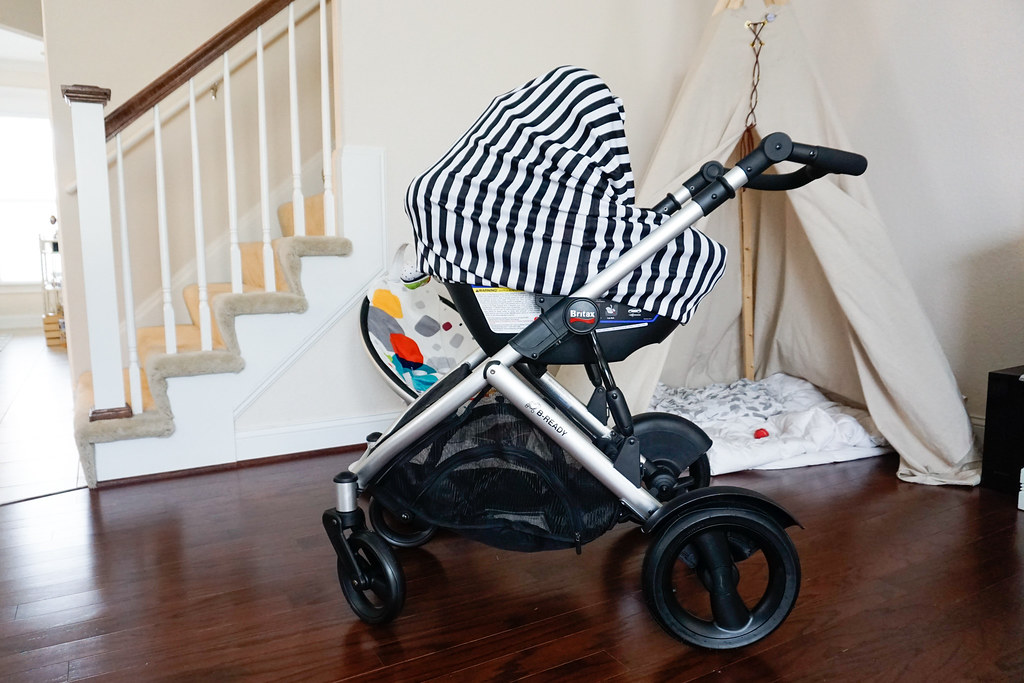
Here it is as a carseat cover! Isn't it so cute? I think it goes really well with our awesome travel system! ;] Hehe! I wish the stripes were horizontal vs. vertical, but thats okay I guess. I've tried on all of them and they all look really good, my other favorite one is the black/grayish knit out, and the gray and white stripes... actually I love all of them on it! John's favorite one is the teal and red. I knew he would thats why I picked out those colors!
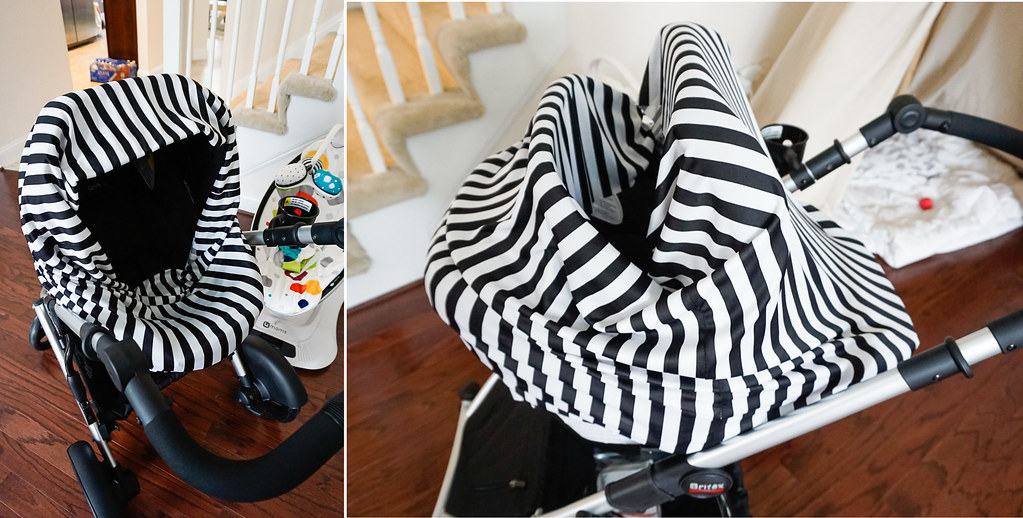
These are the different ways you can put them on your carseat. The one on the right is if you don't want random people trying to touch or look at your baby, its a good way to cover them and still have a little peek hole to check on them. I'll probably have it like this most times when were out in public and then when he's around people we know, have it to the one on the left. Since there's a lot of excess fabric, he can use the excess part as a blanket!!
Materials Used:
- 1 yard of stretch knit fabric (you can cut to the size of your liking later on, better safe than sorry!)
- Rotary cutter or scissors
- Measuring Tape
- Pins
- Sewing Machine
Total cost for all 6: ~$15 (vs. $36-$50 for one!)


0 comments