Sew Fun: Maternity Dress, sorta.
Friday, October 16, 2015
I finished this project two days ago. It took me a couple days to figure this one out! I guess it was meant to be because when I finally figured it out and was ready to buy fabric, the fabric I needed, Knit ITY was 50% off, as well as the other solid stretchy fabric I needed!! Don't ask me how that happens to me often, but call me bargain shopper!
I am no seamstress by any means and just wanted to see what I can come up with! It doesnt hurt to try right? I had ordered two things from a well-known maternity dress retailer during their sales called Sew Trendy Accessories. I love love their gowns! I was able to 'win' 2 items during the sale, and it was chaos! Two of the items i really wanted was sold out before and I wasn't able to get them. I bought the items mainly for our clients use because I love to shoot maternity sessions! But the two items I didn't win, I really wanted to wear for my own maternity session, but it was a 3 week turn around and I wanted to do our session before our baby shower. Anyway, so I looked at the crop top that I had ordered to see how it was sewn. It took me a while to figure out, but I somewhat got the jist of it.. i think!
Materials Used:
2.5 yards of stretch knit (I used ITY) - $9.00 (it was on sale plus I had a coupon)
Matching thread color - $1.5
1" elastic waist band (already had)
Scissors or rotary cutter
Cutting board
Measuring tape
Pins
Sewing Machine
Total: ~ $12.00
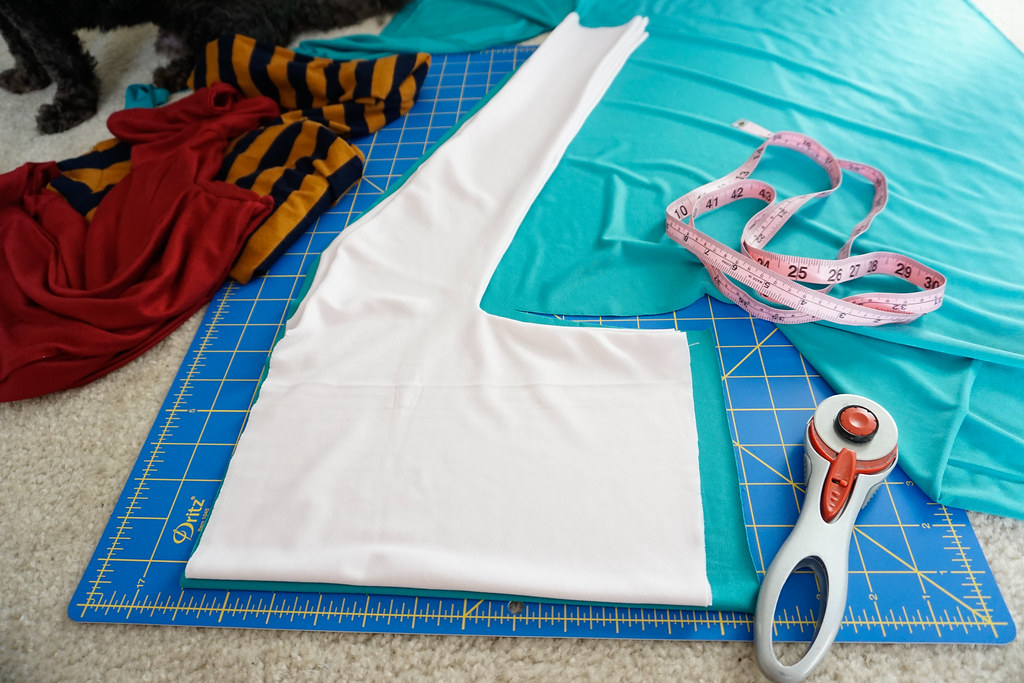
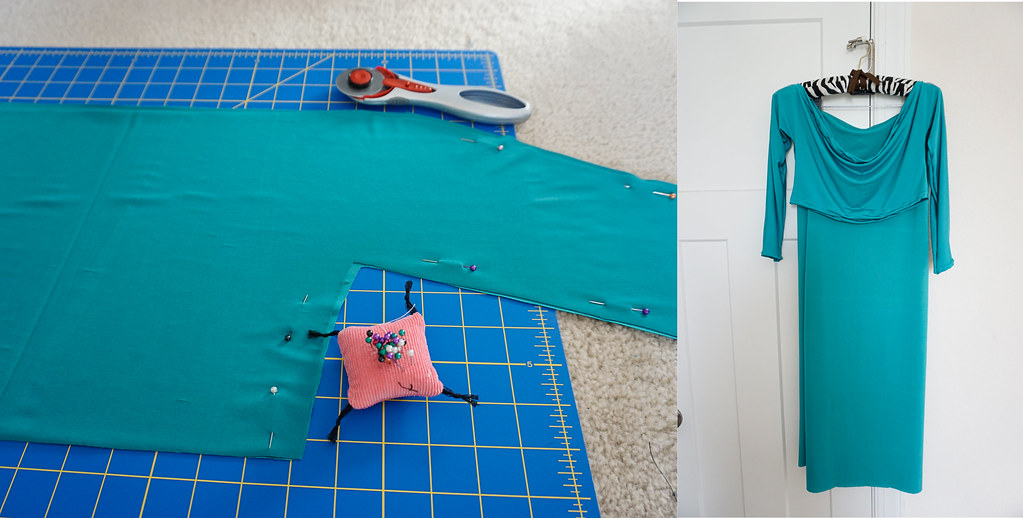
I wanted this to be a two piece item vs, an entire dress so that I can change the top out for future clients. It'll be long sleeve, and short or tube top. Since it's starting to get chilly, I wanted to make a long sleeve but still make it feel sexy, so I made it an off shoulder top. I grabbed one of my old fitted crop tops to use as a pattern and traced it on the fabric. I first did it on a fabric I didn't care too much for just to see how it'd turn out and thats what that white fabric is on top of the jade fabric.
First step: I cut about 24 inches off the 2.5 yards, because the length of the crop top I cut was 11.5 inch and I needed two. You can cut the fabric according to how long you want the crop top to be. Fold the fabric in half and put your pattern on top top to trace. When cutting your pattern make sure you cut at-least an extra .5 inch from the pattern youre tracing for the part you'll be sewing. Since I wanted to make off shoulder, I cut off the neck part straight (using the original fitted crop top shirt I had. It was a turtle neck so I just folded the turtle neck part to where it goes to the shoulders, I hope that make sense!). I cut two pieces of this.


0 comments